If you have ever typed “how do I inspect a beehive” into Google, you will have been met with approximately forty articles that make it sound like brain surgery. Gloves on. Smoker lit. Hive tool ready. Open slowly. Do not crush the queen. Do not breathe too fast. Do not, under any circumstances, panic.
Very helpful. Very reassuring. Not remotely what it actually feels like when you are standing at the hive for the first time.
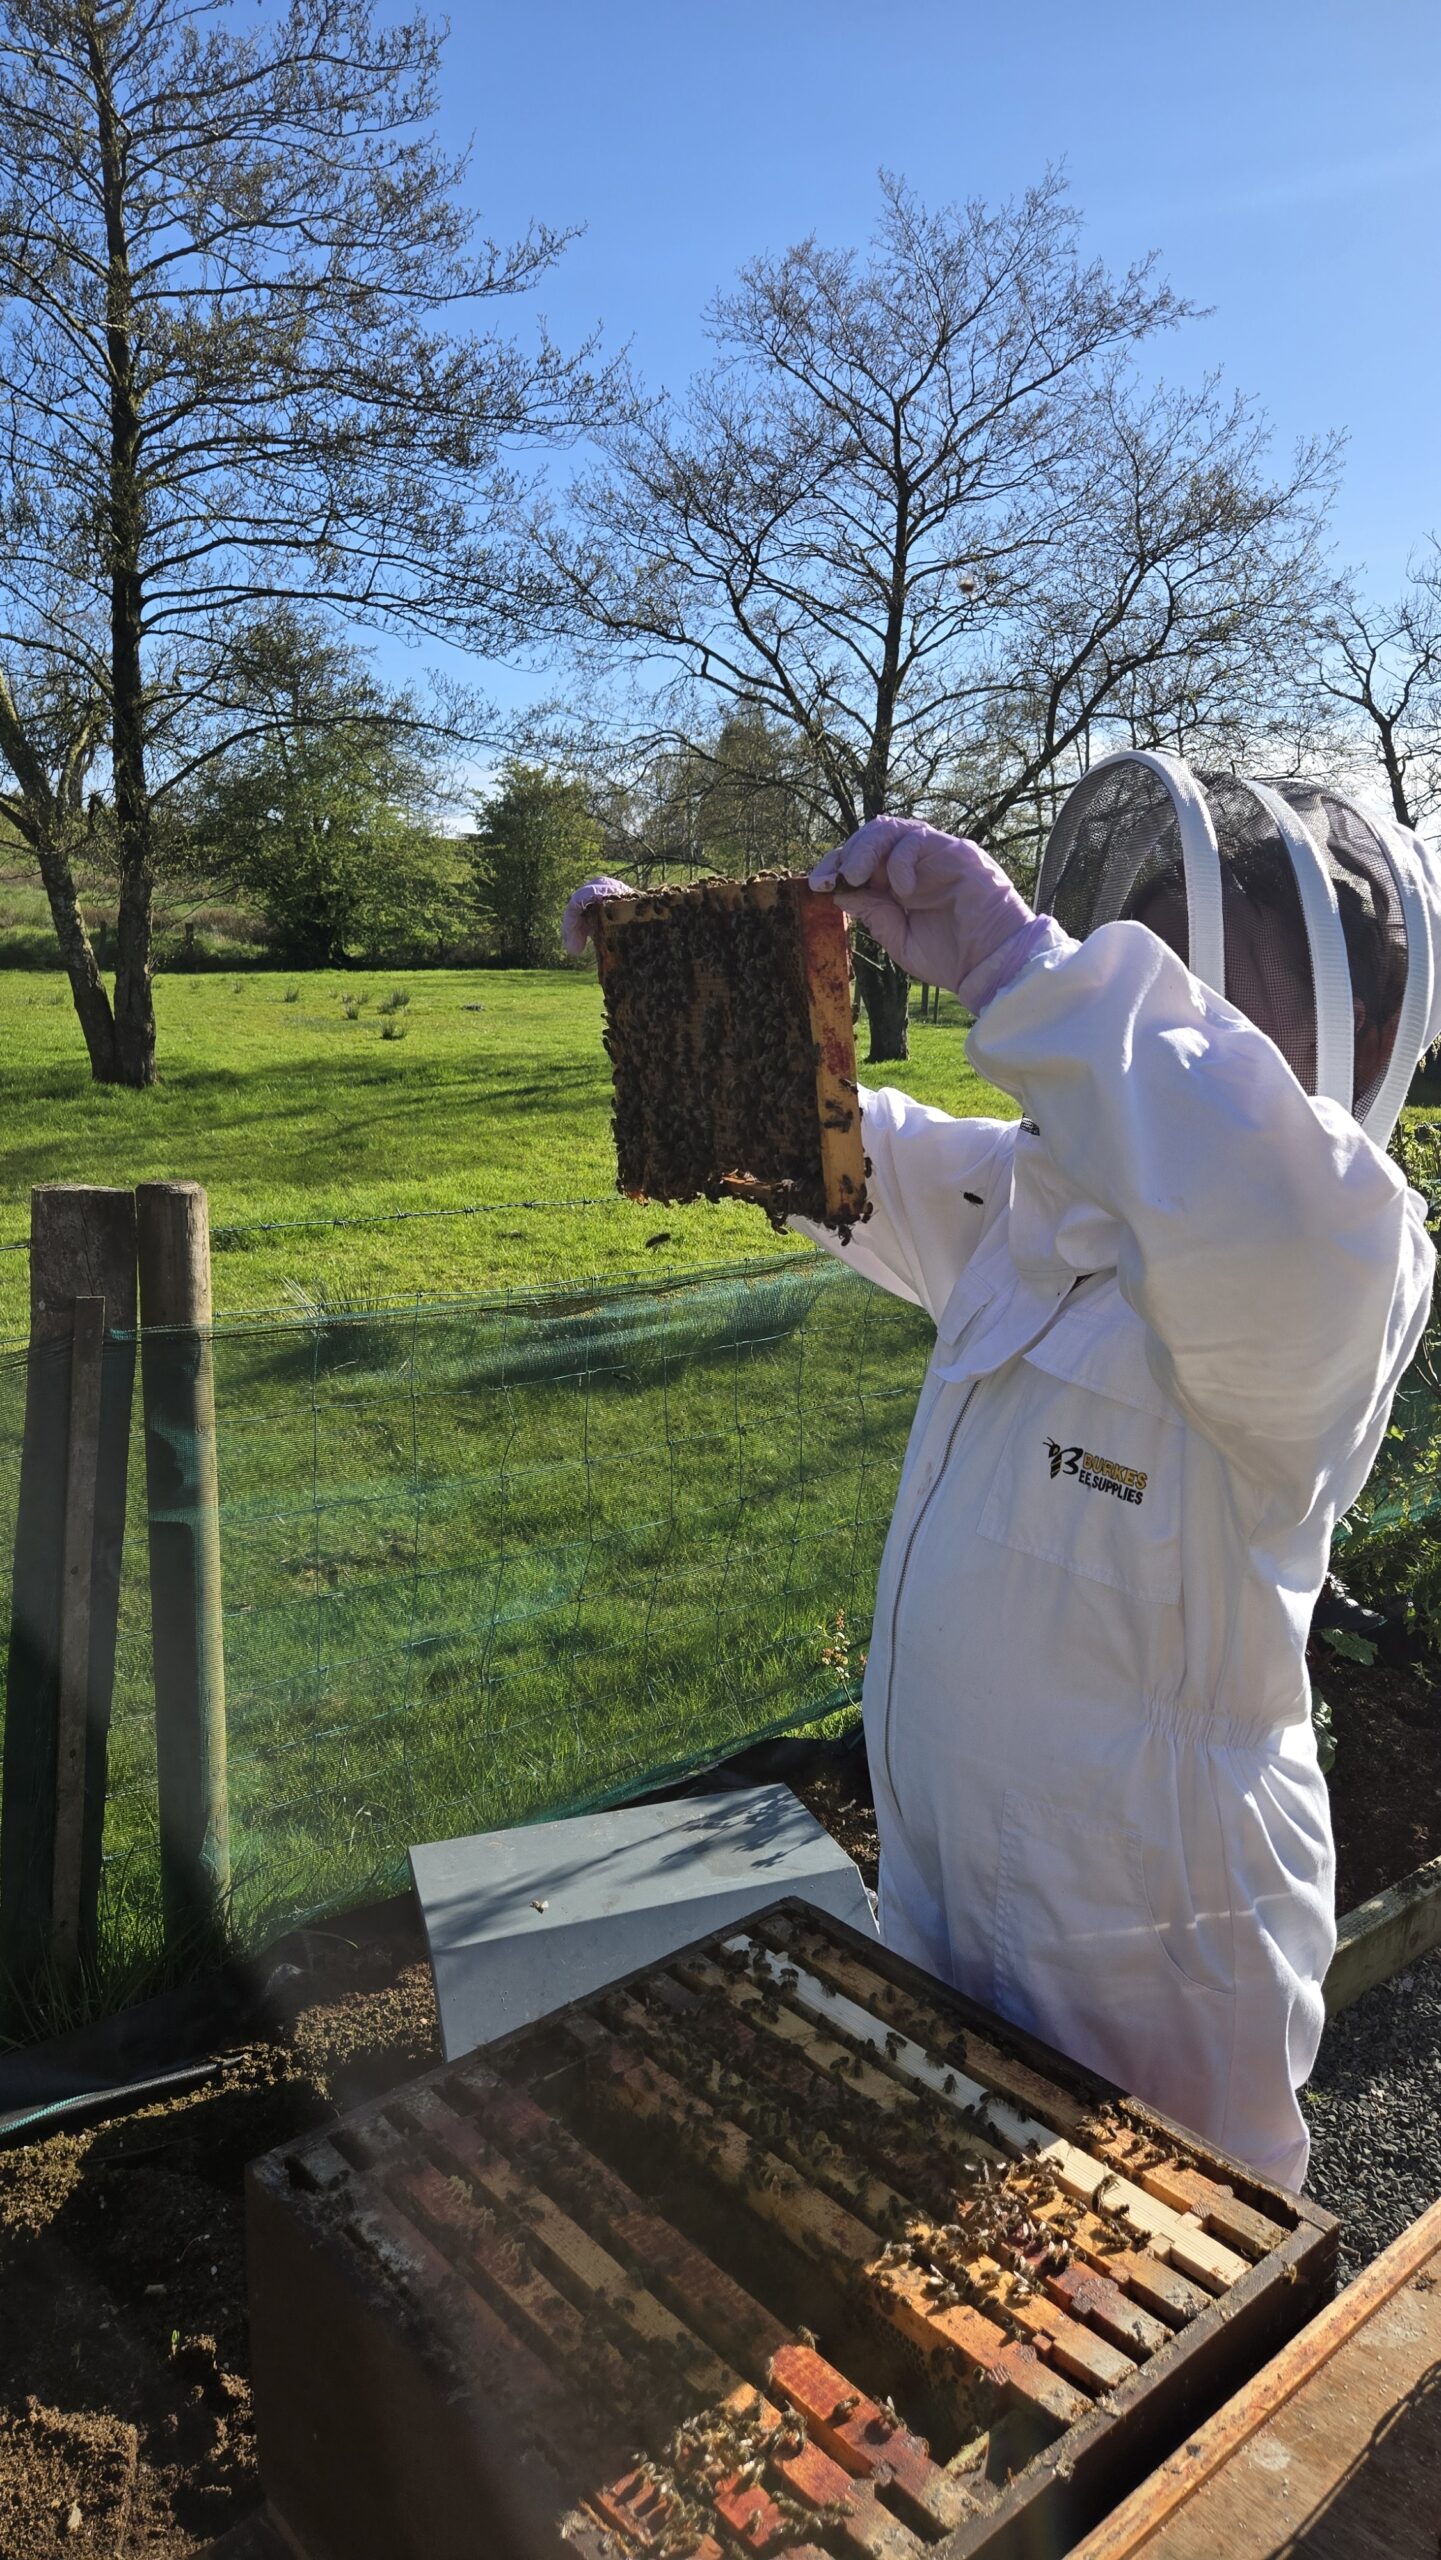
So here is our version. The honest one. From an actual inspection on a sunny, windy Friday in late April, 17 degrees, bees in a good mood, Bee Girl running the whole thing herself for the first time, and Mum behind the camera trying very hard not to be helpful.
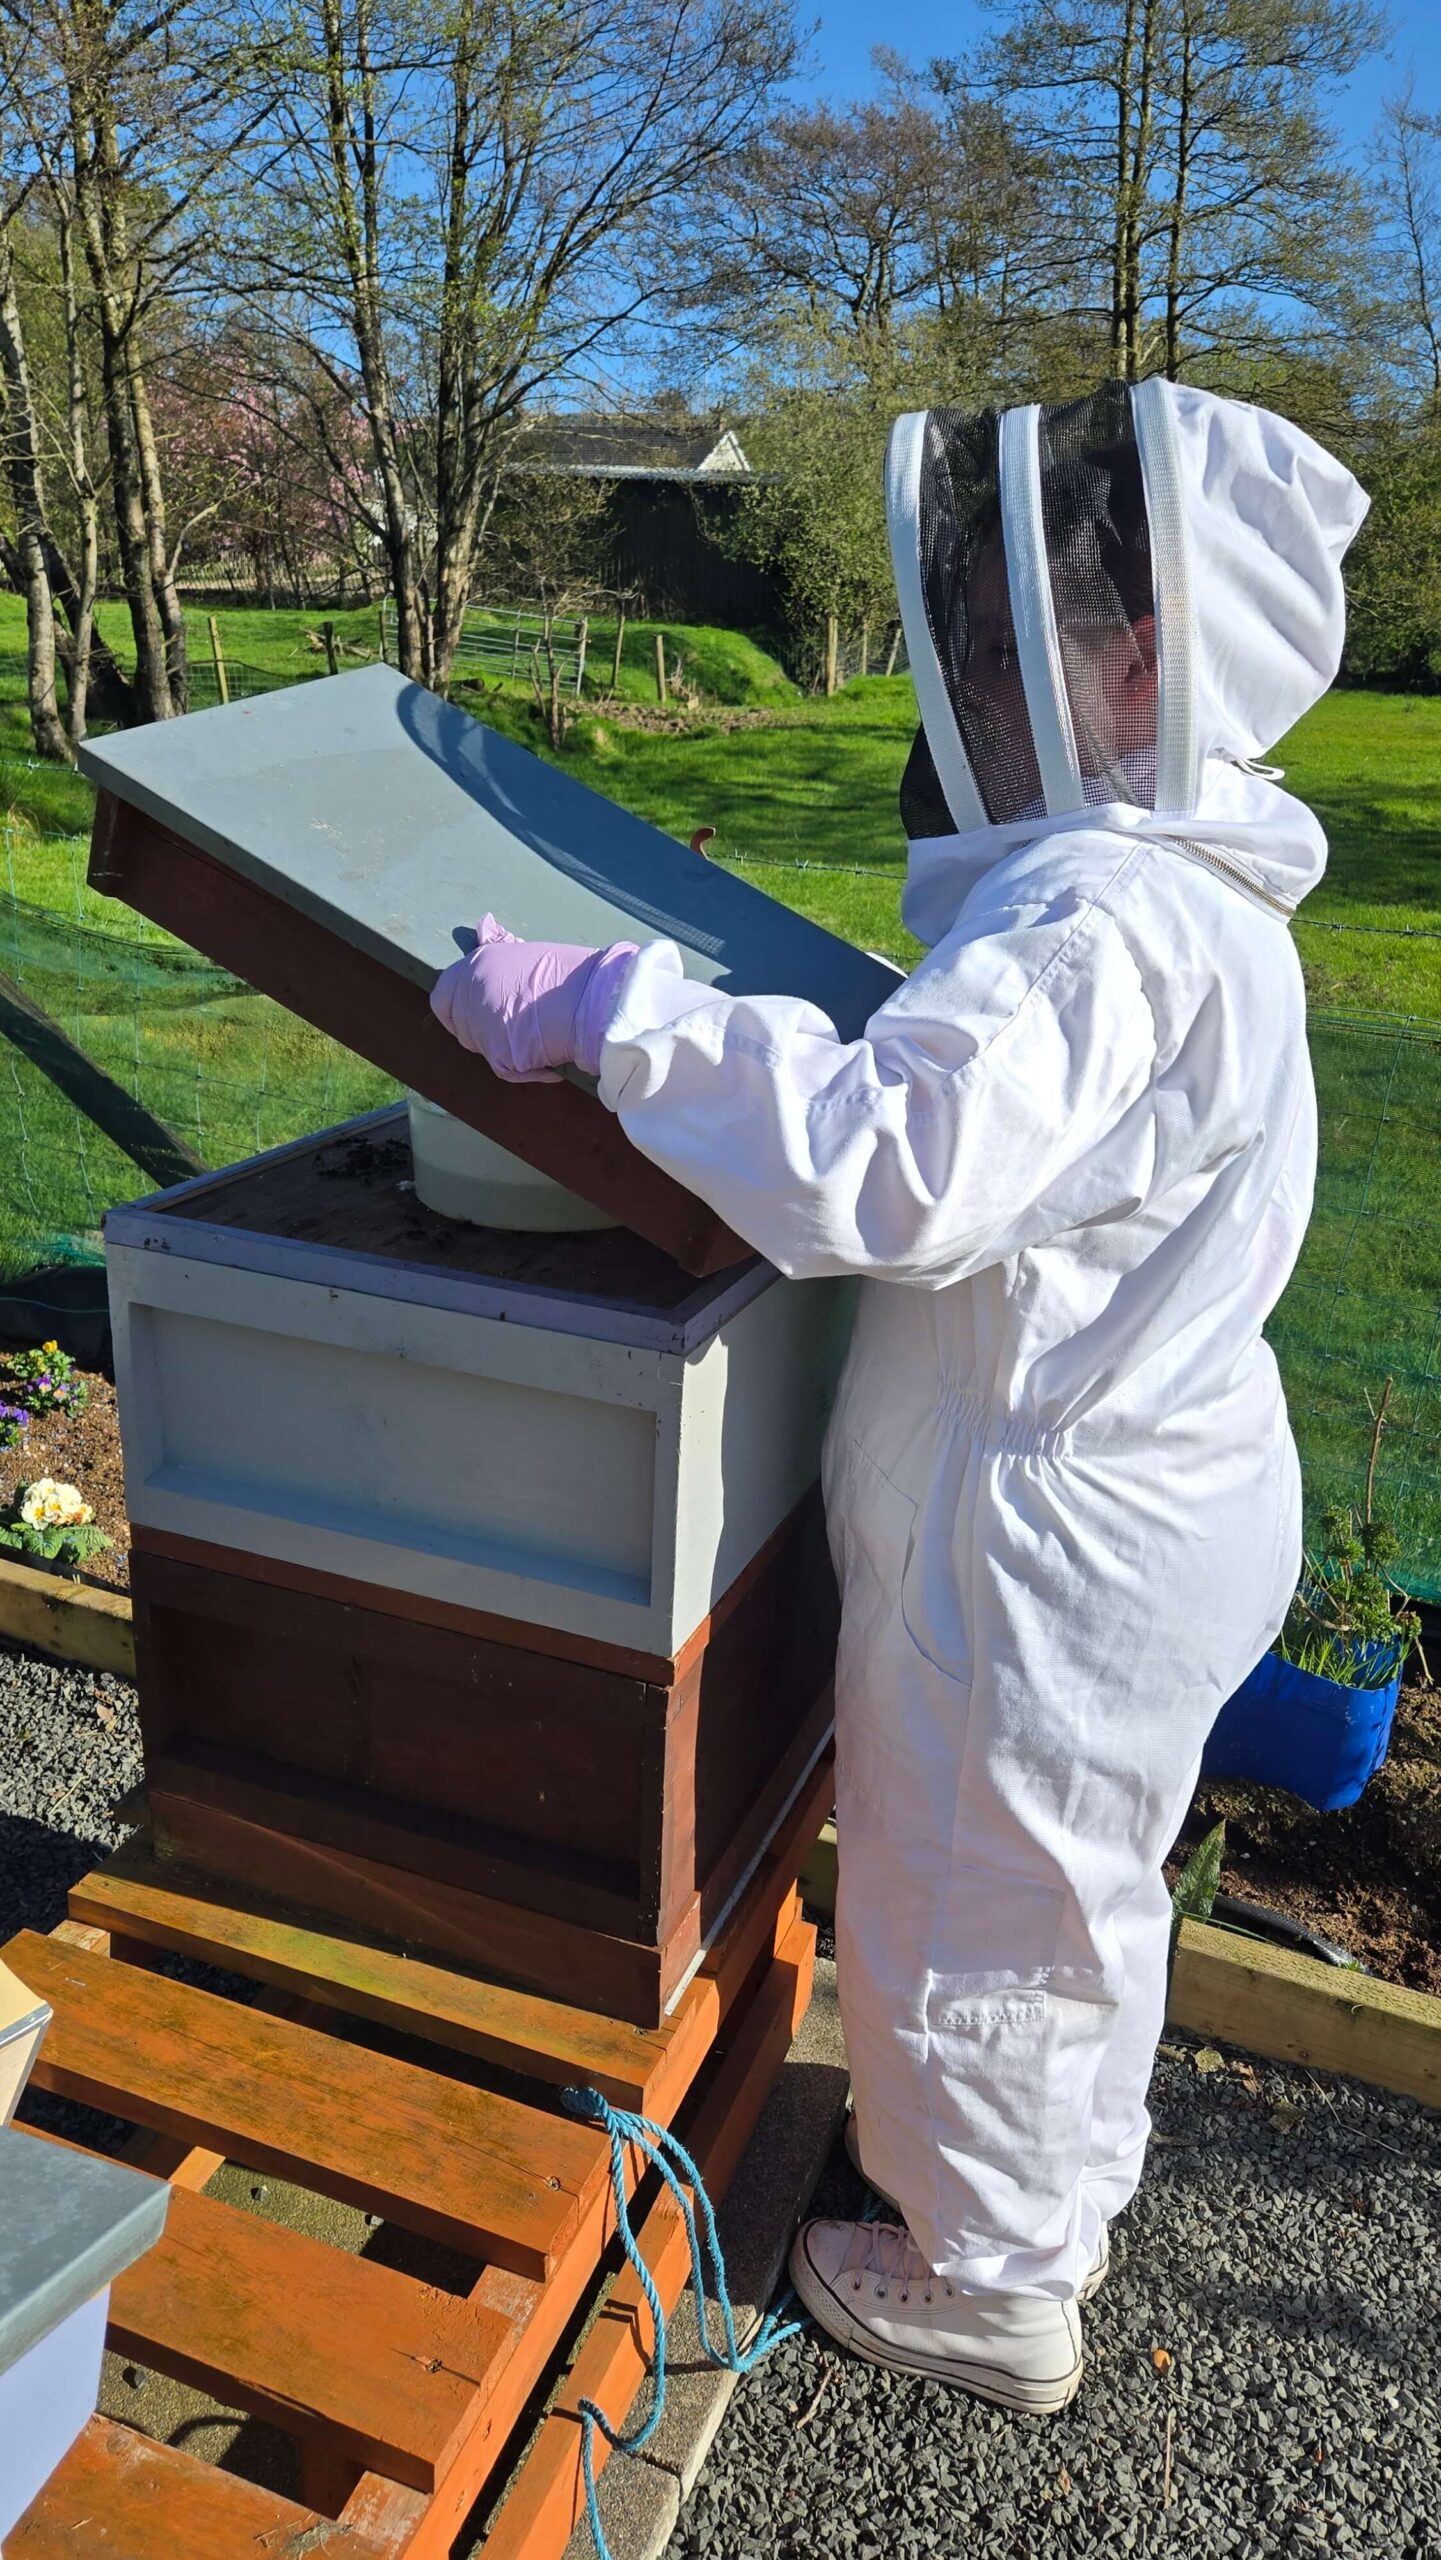
I managed it. Mostly.
First Things First: What Is an Inspection Actually For?
A hive inspection is not just a look. It is the main way you find out whether your colony is healthy, happy, and not about to do something dramatic like swarm off without telling you.
At its most basic, you are checking four things:
- Is there a laying queen? You might not see her. That is fine. Eggs are the evidence.
- Is the brood healthy? You are looking for a solid, consistent pattern. Gaps and oddities need noting.
- Are there enough stores? Honey and pollen. Bees need both.
- Is anything unusual happening? Queen cells. Temper changes. Anything that makes you go “hm.”
That is the whole job. Everything else is detail.
When Should You Inspect?
There are conditions. The bees have opinions about when they will tolerate you, and those opinions matter.
You need a dry day with little wind. You need it to be warm enough that most of the foragers are out and the colony is not huddled together trying to stay warm. In Northern Ireland that means roughly 14 degrees and above. On a good sunny afternoon, not first thing in the morning when everyone is still grumpy and caffeinated on yesterday’s nectar.
There is a seasonal cue we find useful and nobody in the official guides seems to mention: when the flowering currant is in bloom, it is usually time for your first proper spring inspection. It flowers early, it is reliable, and it is free to observe. We have a hedge full of it and it has become our unofficial starting gun.
Today we had 17 degrees and sunshine with a bit of wind. Not perfect but well within the range the bees will tolerate. They were calm from the moment we opened up, which on a windy day is a good sign about the colony’s temperament.
What You Actually Need
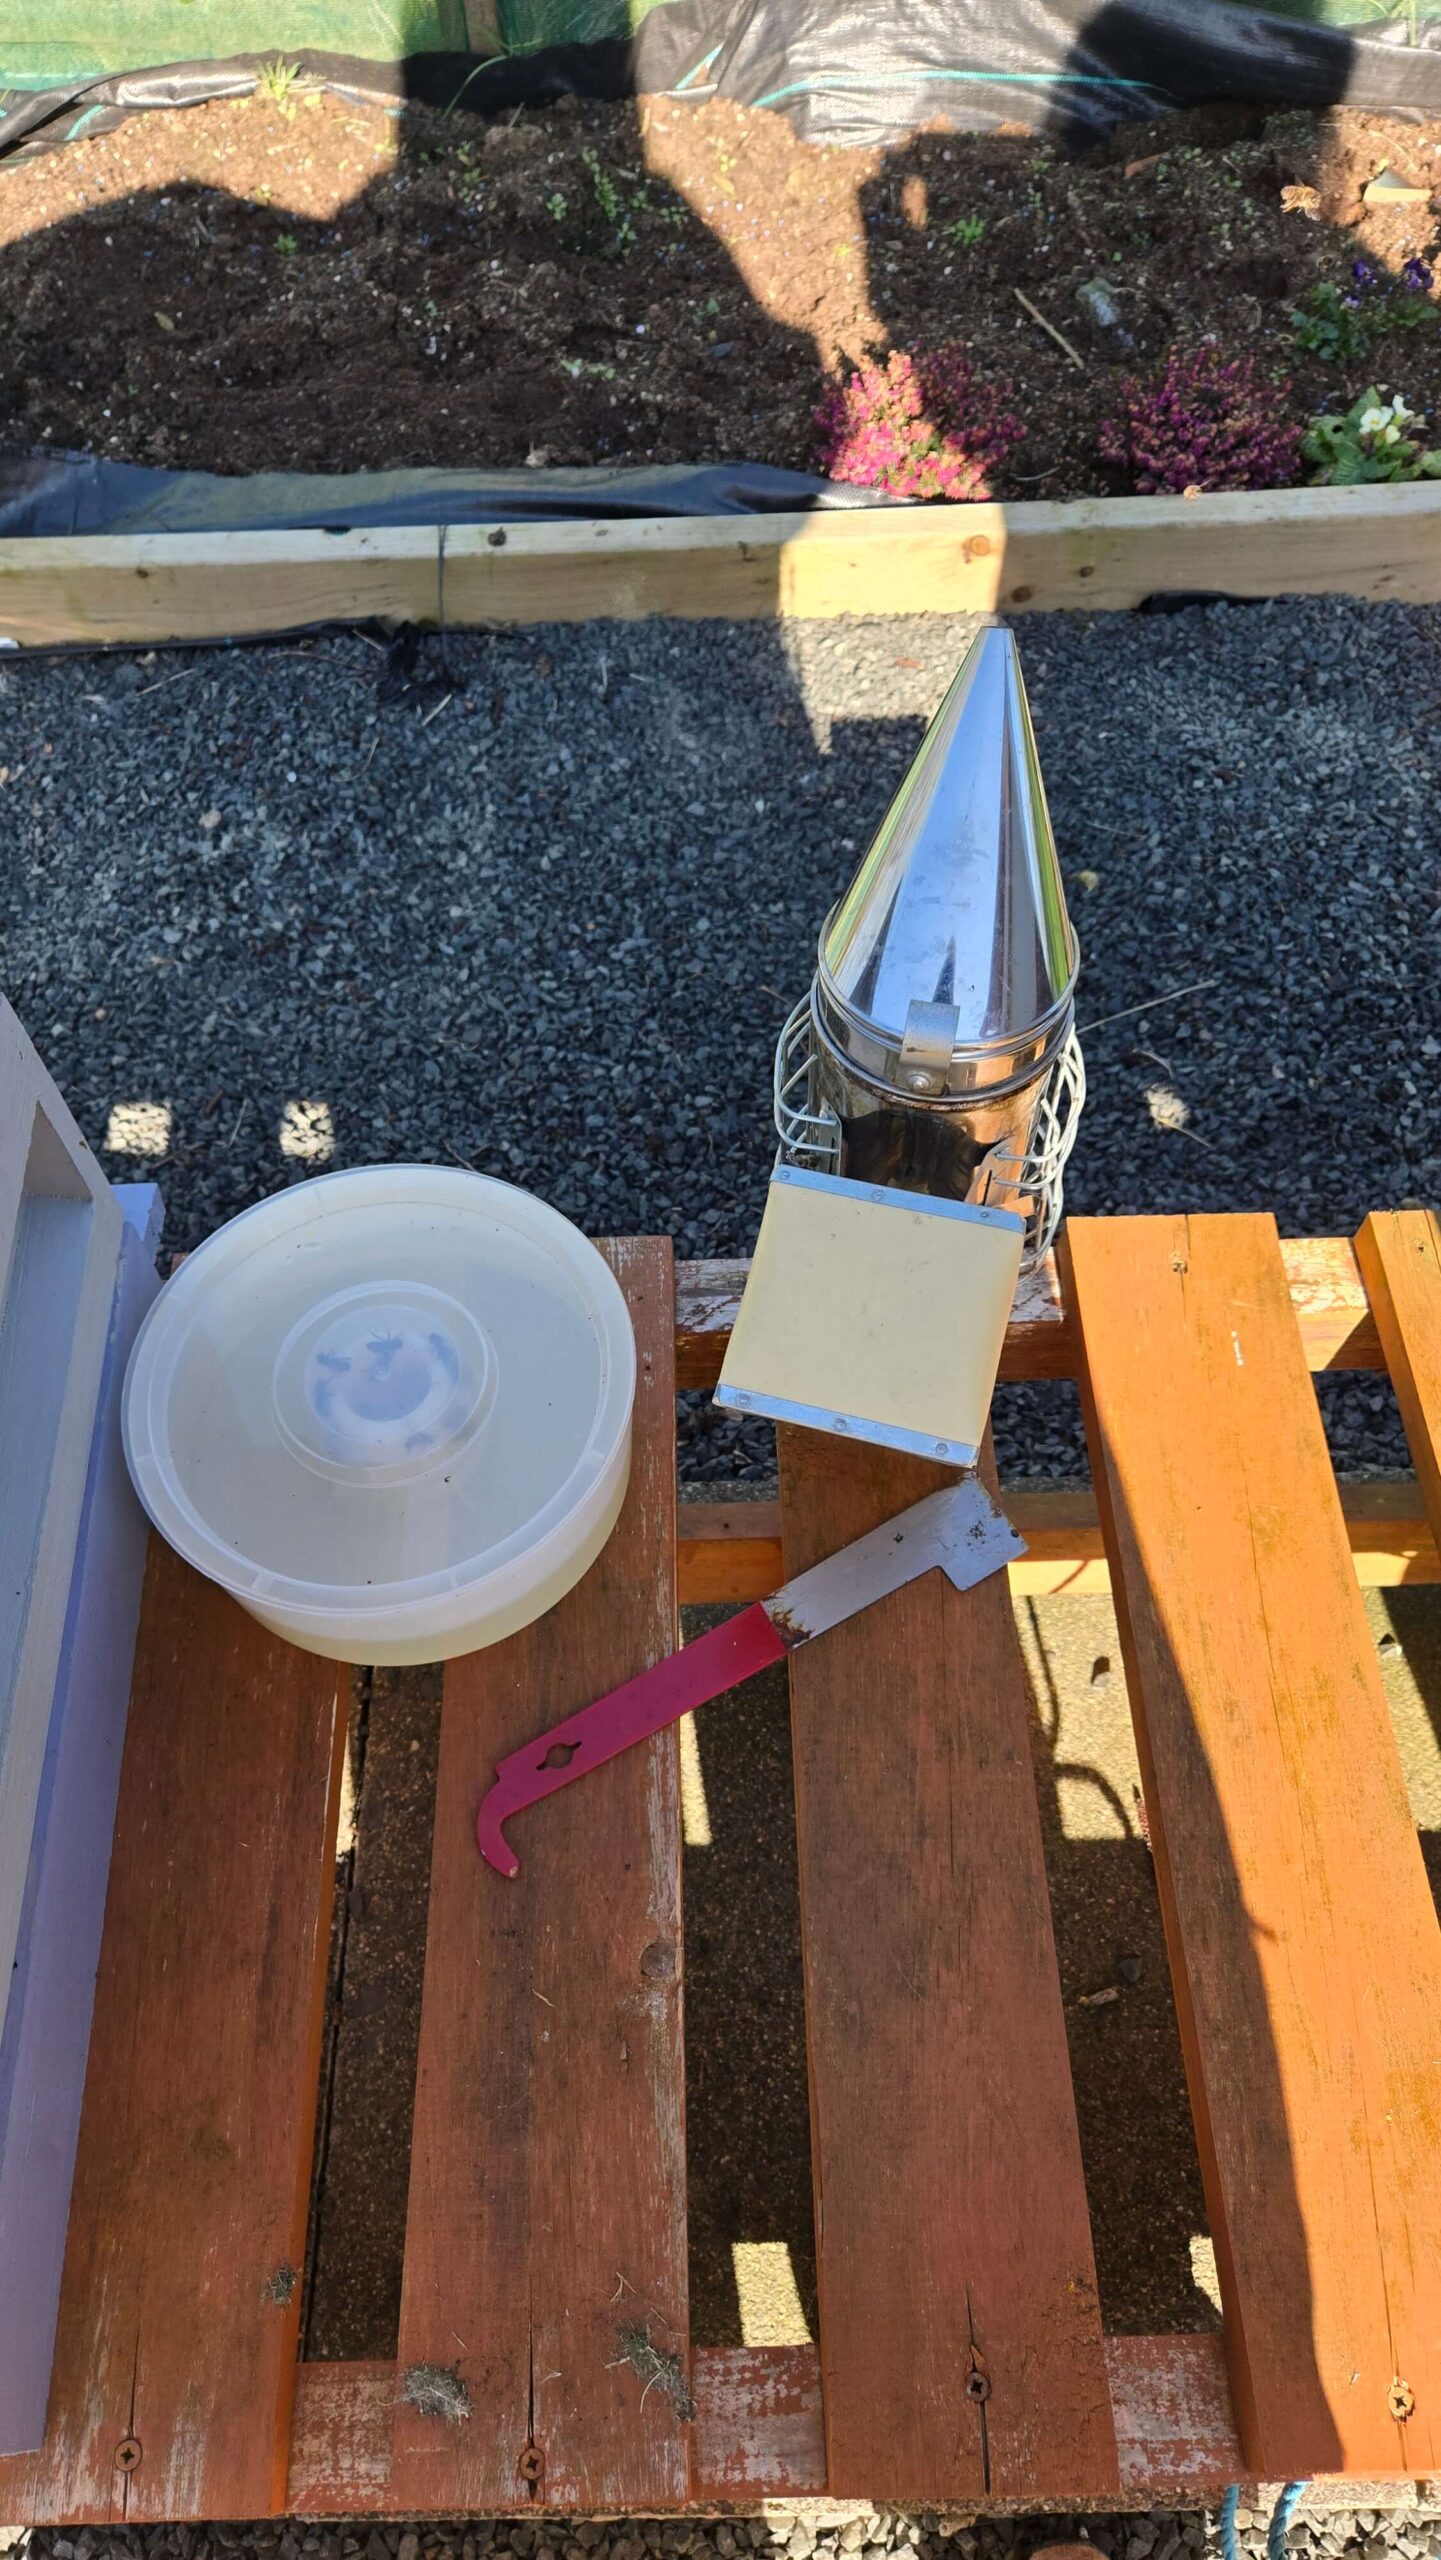
This is not an equipment post. But for a basic inspection the essentials are: your suit, your smoker, your hive tool (a flat metal lever for lifting frames and prising things apart that would otherwise be glued solid with propolis, the brown tree resin bees use to seal everything), and something to write notes on.
The smoker is not for drugging them. Smoke helps interrupt the alarm signals bees use to organise a defence, and it can encourage them to fill up on honey. A bee with a full belly is often a calmer bee. A couple of puffs at the entrance, a couple under the roof, and you wait thirty seconds before going in.
The smoker is Bee Girl’s domain. She lights it, she manages it, she stands ready with it throughout. On this inspection she was also the one opening the hive, lifting the frames, and telling me what she could see. I stood behind her with the camera and tried not to say anything helpful.
I said several helpful things. She ignored all of them.
Opening the Hive
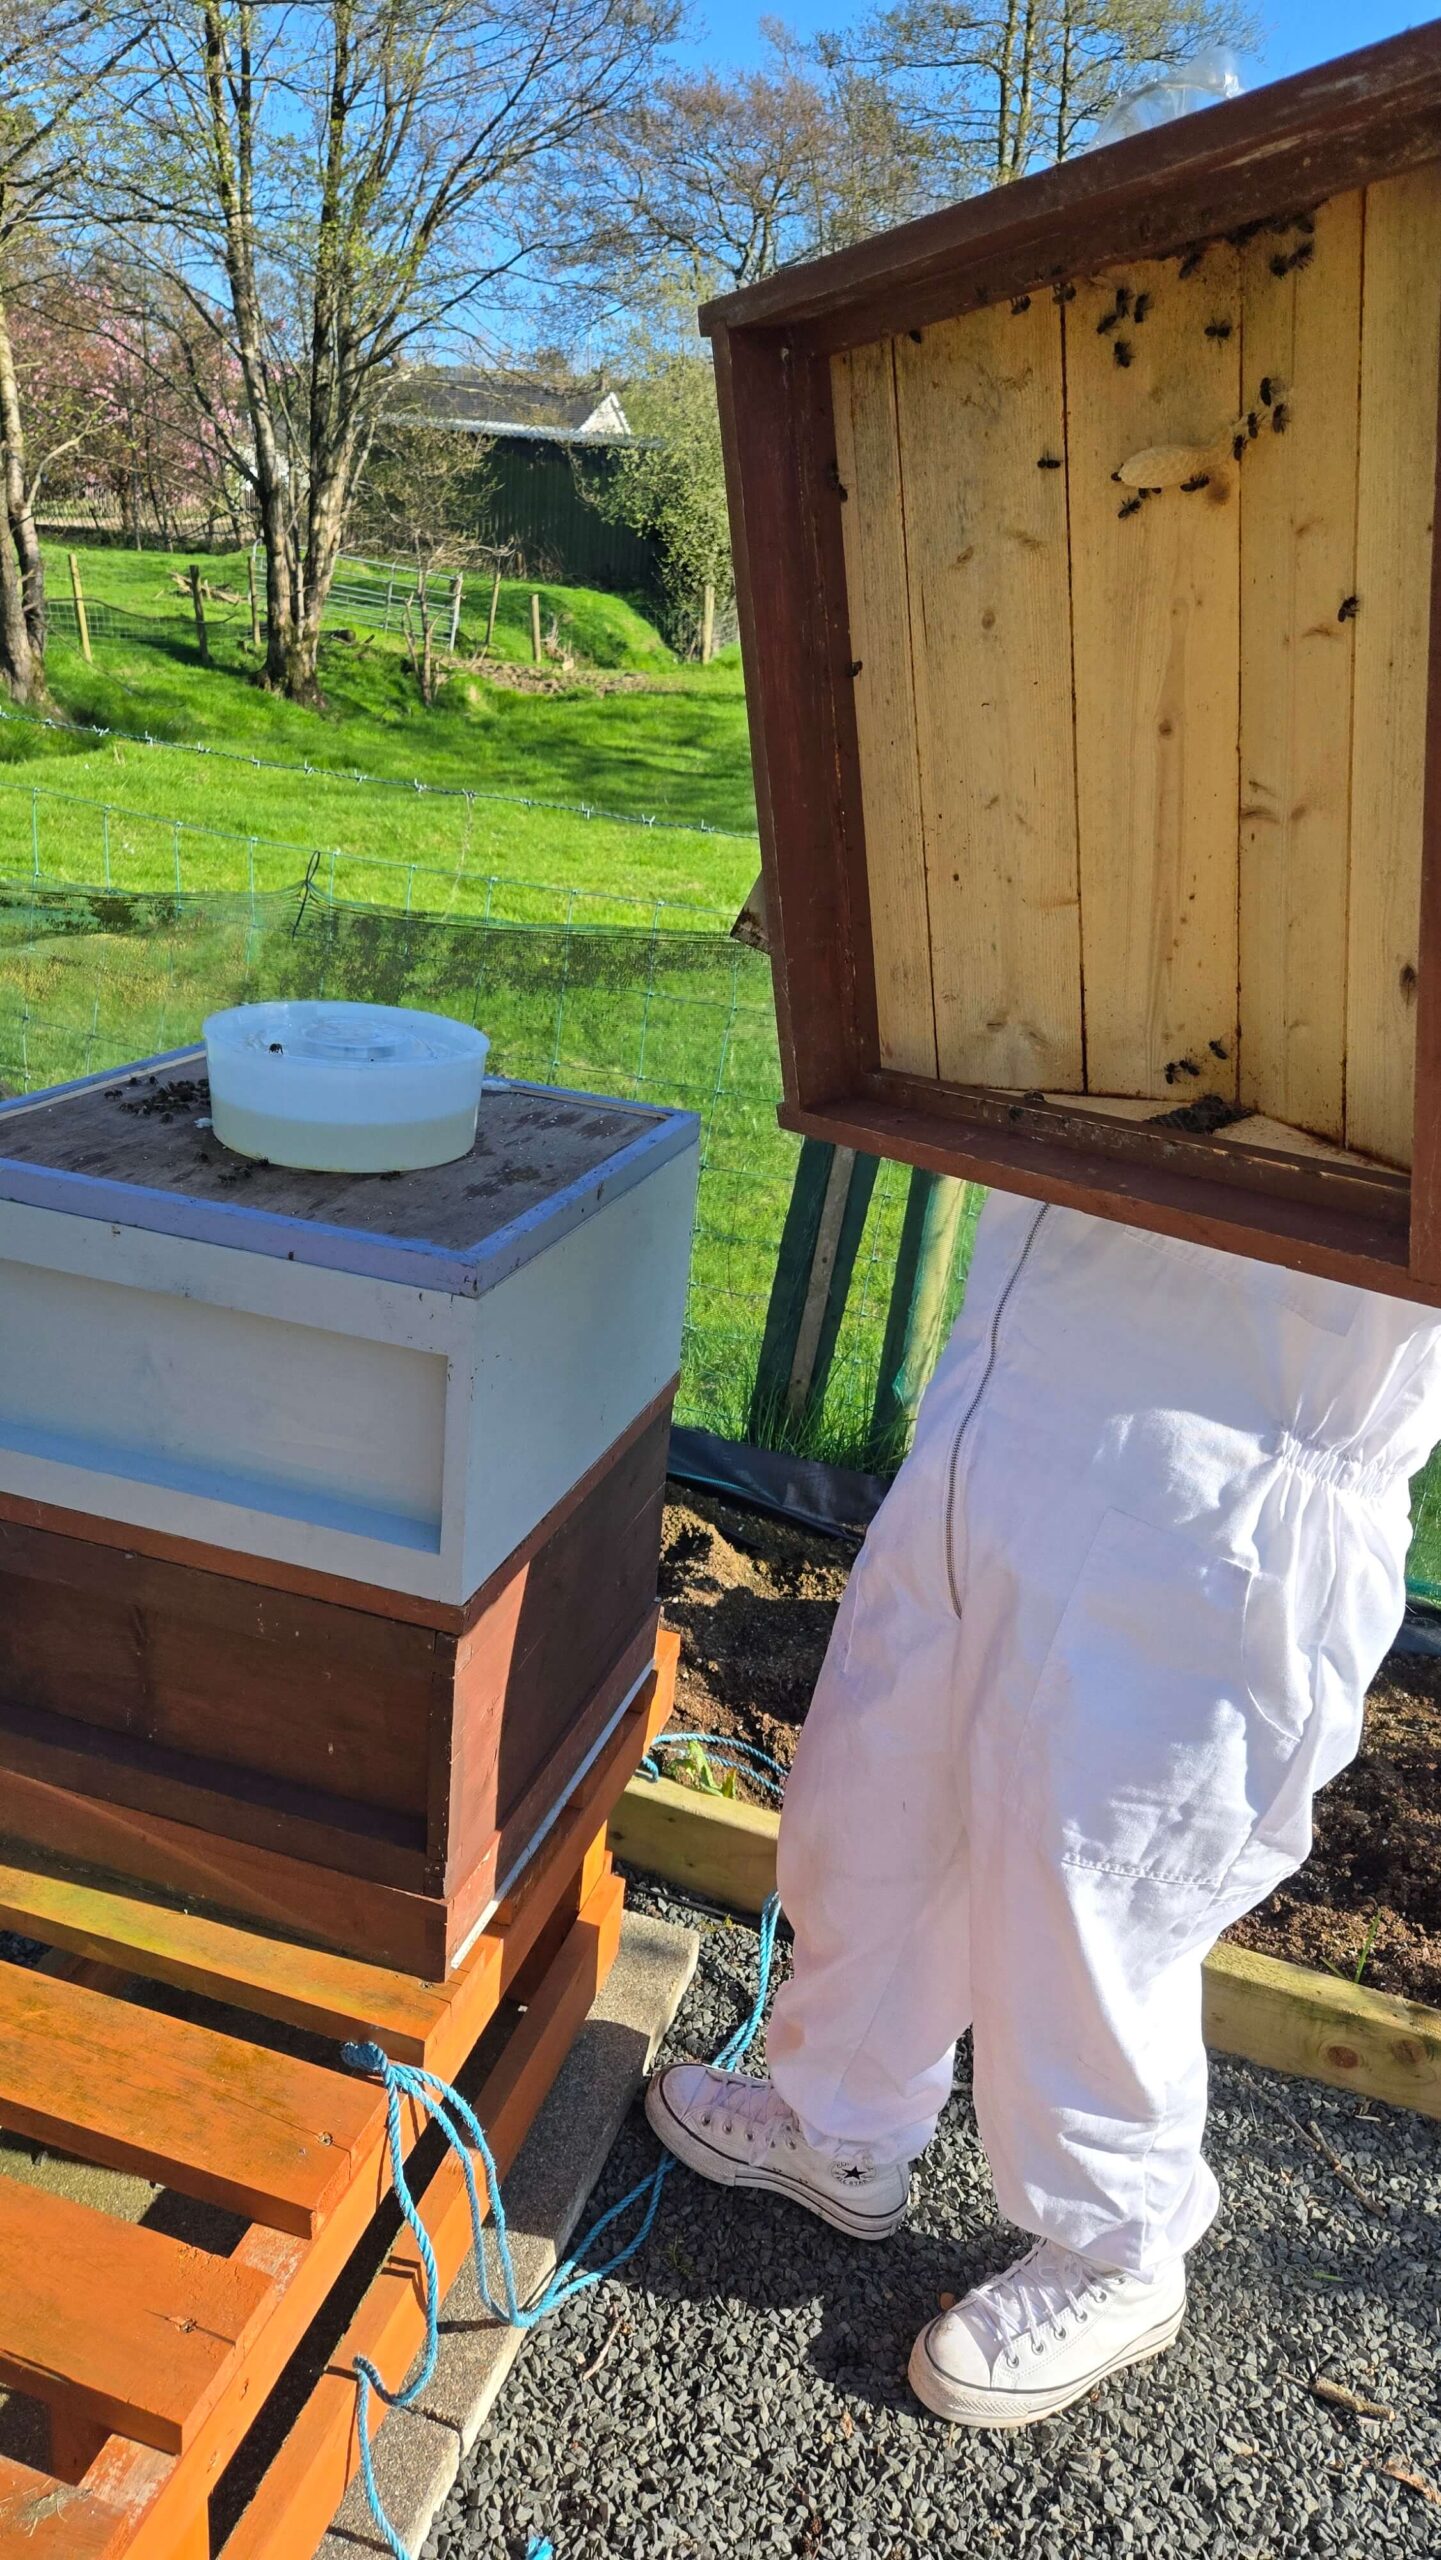
You lift the roof. You set it aside. You remove the crown board (the flat board sitting directly on top of the frames, a bit like a lid inside a lid), giving it a quick check first to make sure the queen is not on it, then setting it down gently on the hive stand beside you.
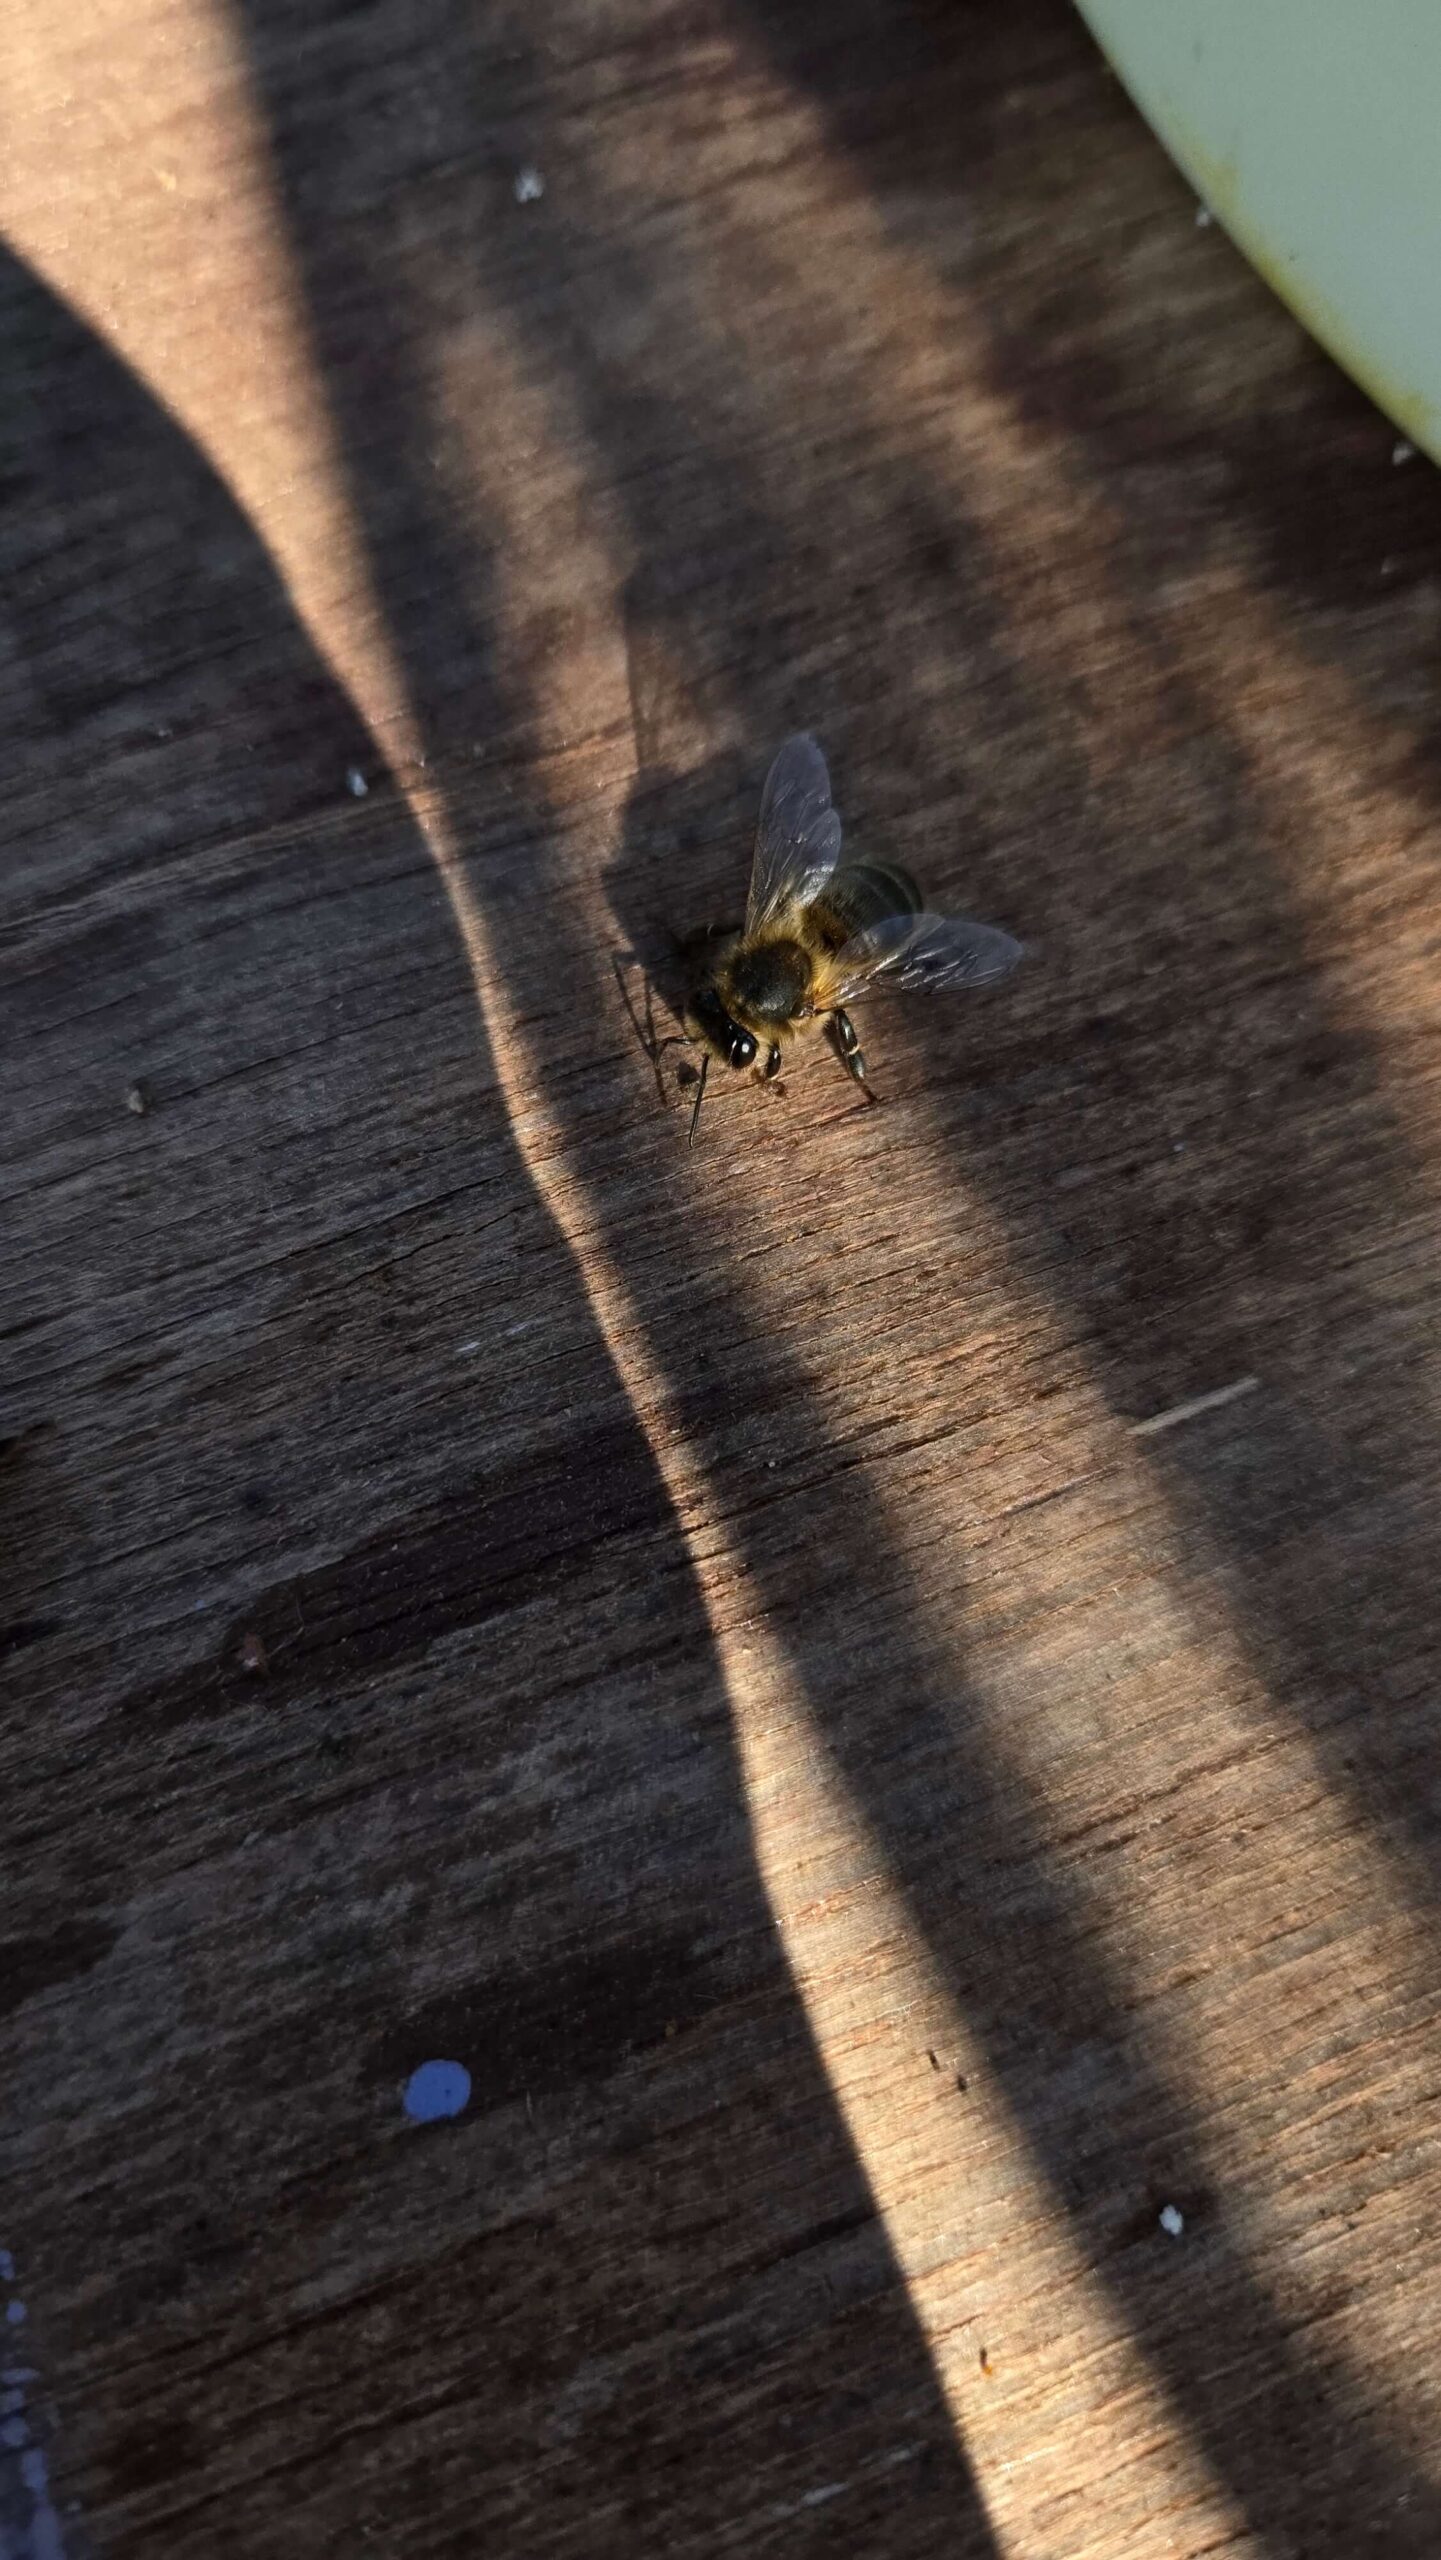
Then you are looking at the tops of the frames. Bees everywhere. A sound that is somewhere between a hum and a roar depending on the day and the mood. Your heart does something it does not normally do.
Bee Girl looked down into the hive, took a breath, and said “right then.” I took a photograph of the back of her head because it was that kind of moment.
Going Through the Frames
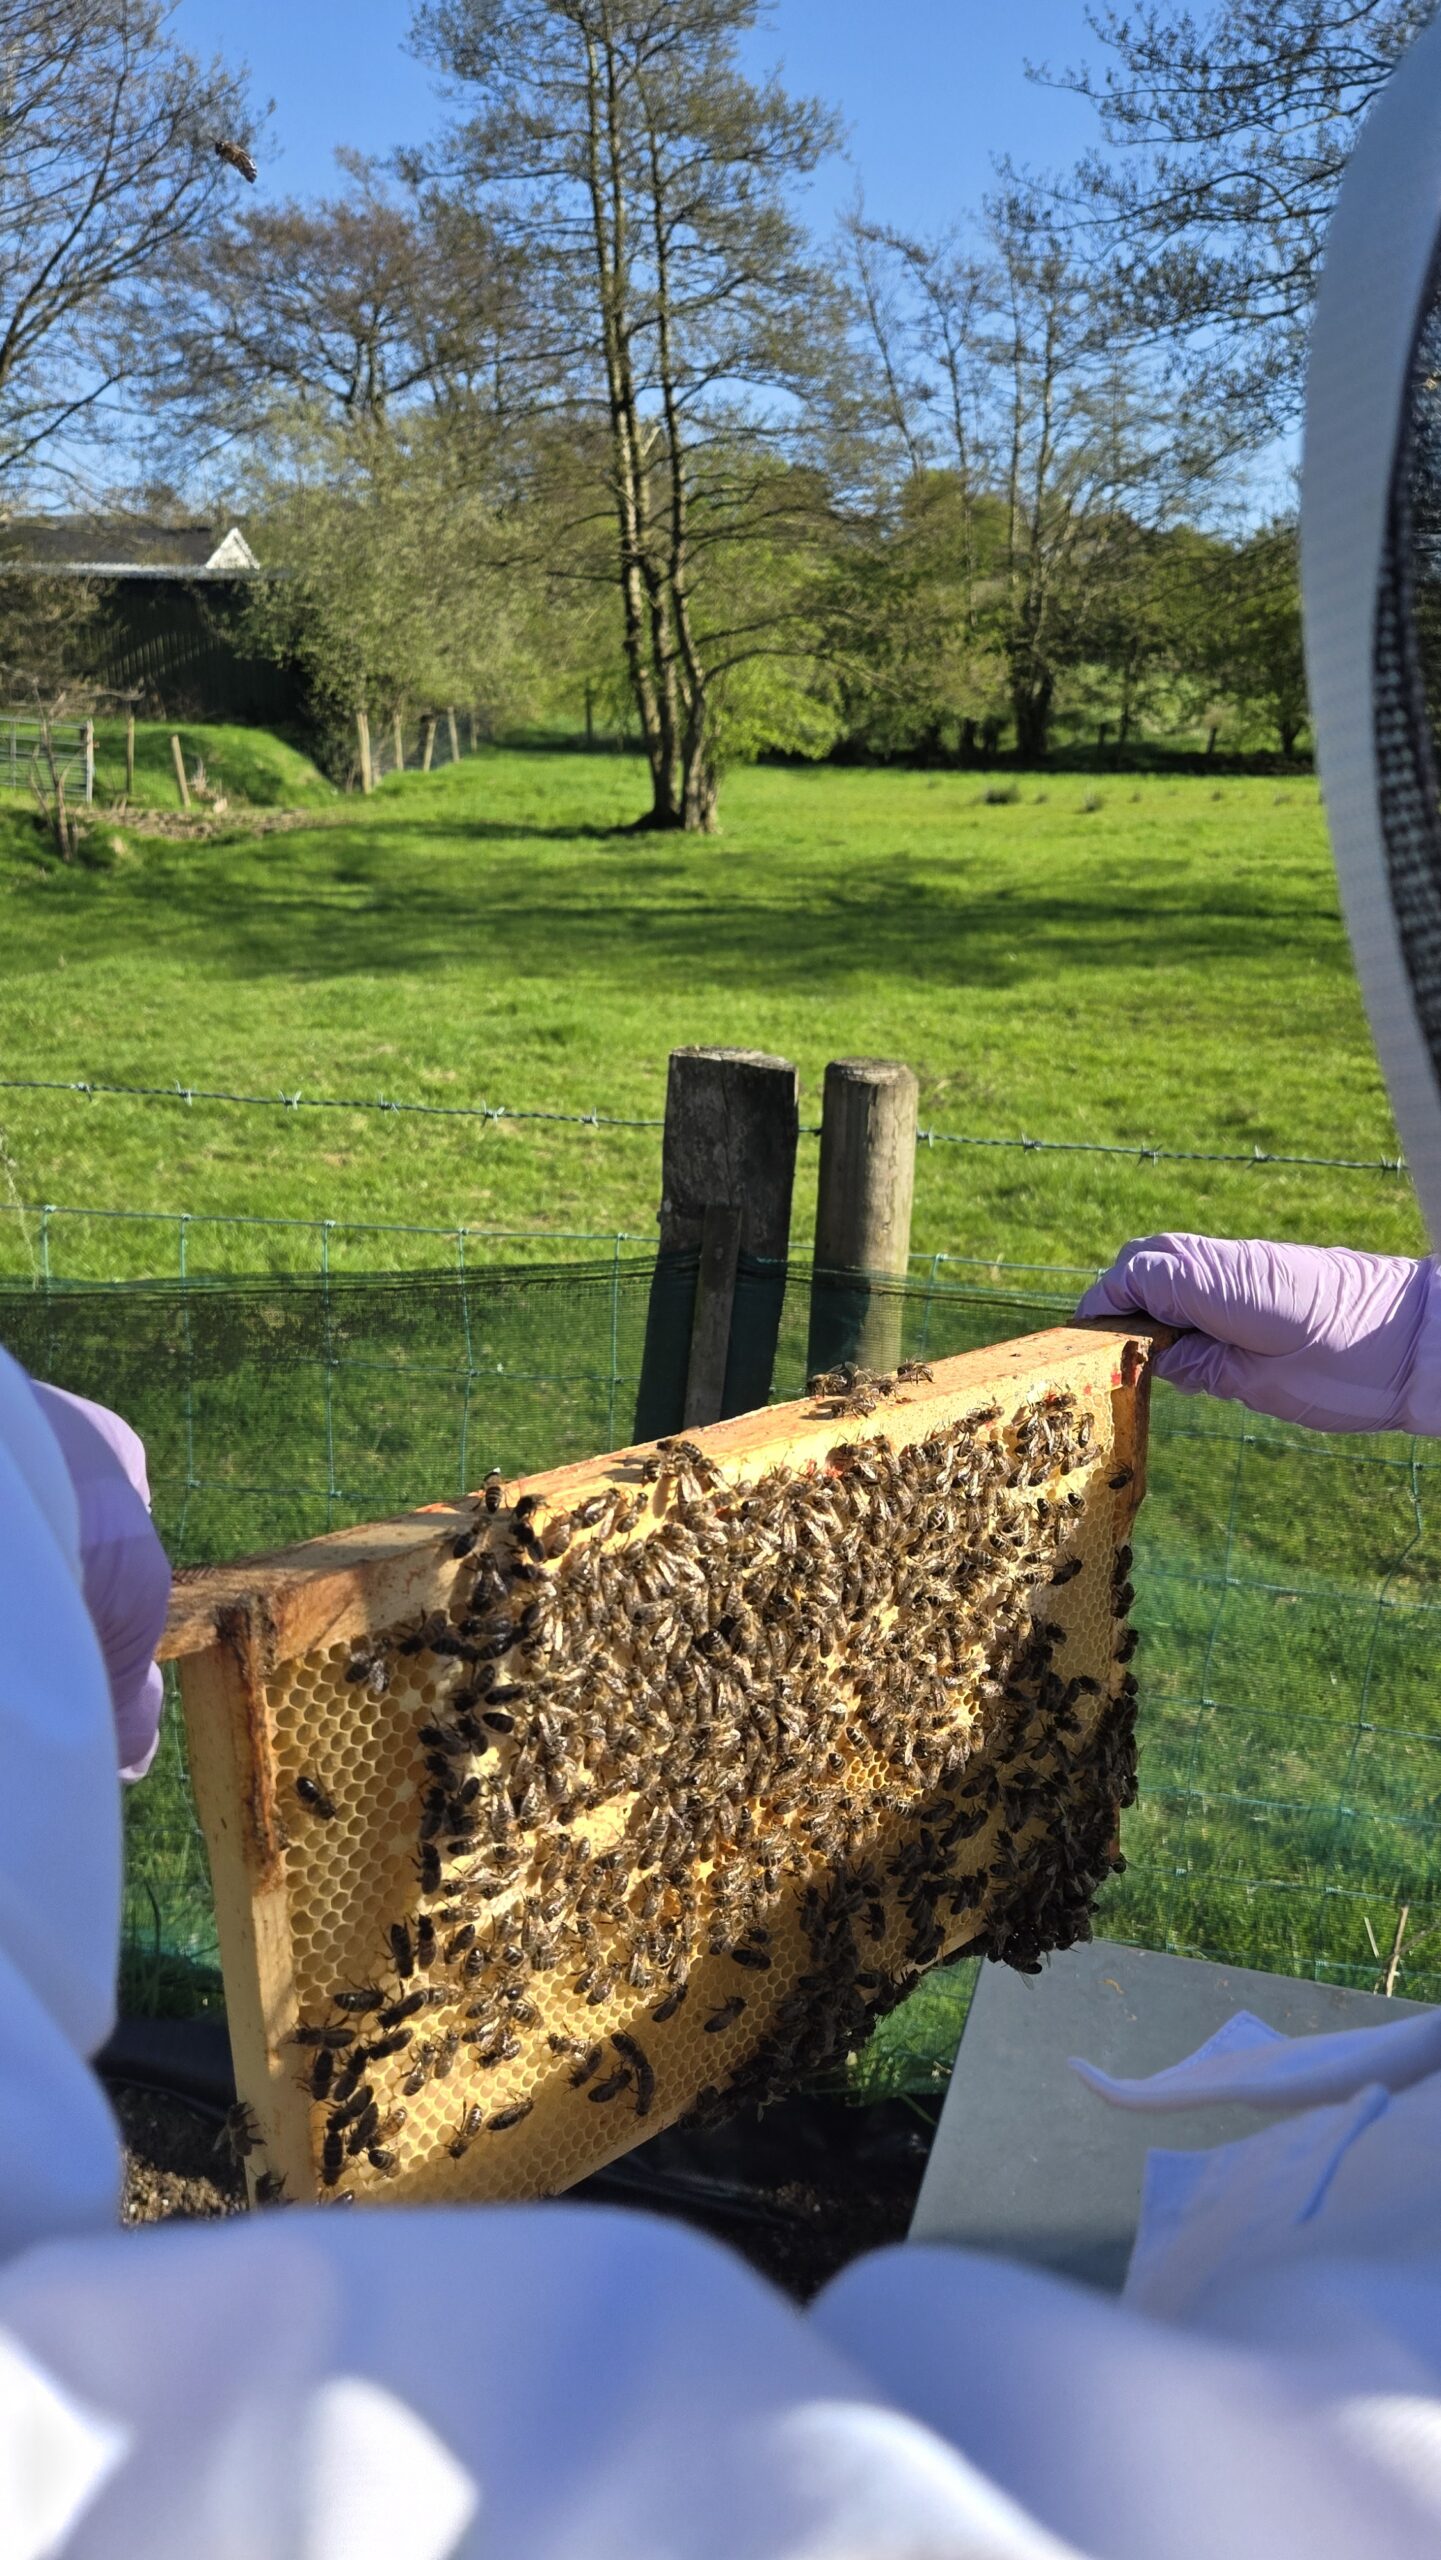
You work through the frames one by one, lifting each one straight up to avoid rolling bees between frames, which is uncomfortable for the bees and does nothing good for your nerves. Before you set the first frame aside, check both sides of it. The outer frames are almost always honey and workers with no queen in sight, but you check.
Then hold each frame at both lugs (the wooden tabs of the frame), read both sides, and swivel it vertically rather than flipping it over horizontally, which keeps the comb the right way up and stops anything dropping out. Then slide it into the gap you have made.
You are looking at what is in each cell. Capped honey stores, which are pale and slightly domed. Capped brood (developing bees sealed inside), which is darker and flatter. Open cells with larvae in, which look like tiny white grubs curled at the base. And if you are lucky, eggs: tiny white dots standing upright in empty cells, visible only if you angle the frame into the light at just the right angle.
Eggs are important. They tell you the queen was laying within the last three days. Today we saw eggs, which meant the queen was in there and working even if we could not pin her down. Bee Girl recorded “maybe” on the queen seen box, which is honest. We think we saw her. We are not certain.
Today’s brood pattern was solid across six frames, which for late April in Northern Ireland is a really healthy picture. Five frames of stores in the lower box and two in the upper. The colony is in good shape going into swarming season.
The Bit Where I Worried Unnecessarily
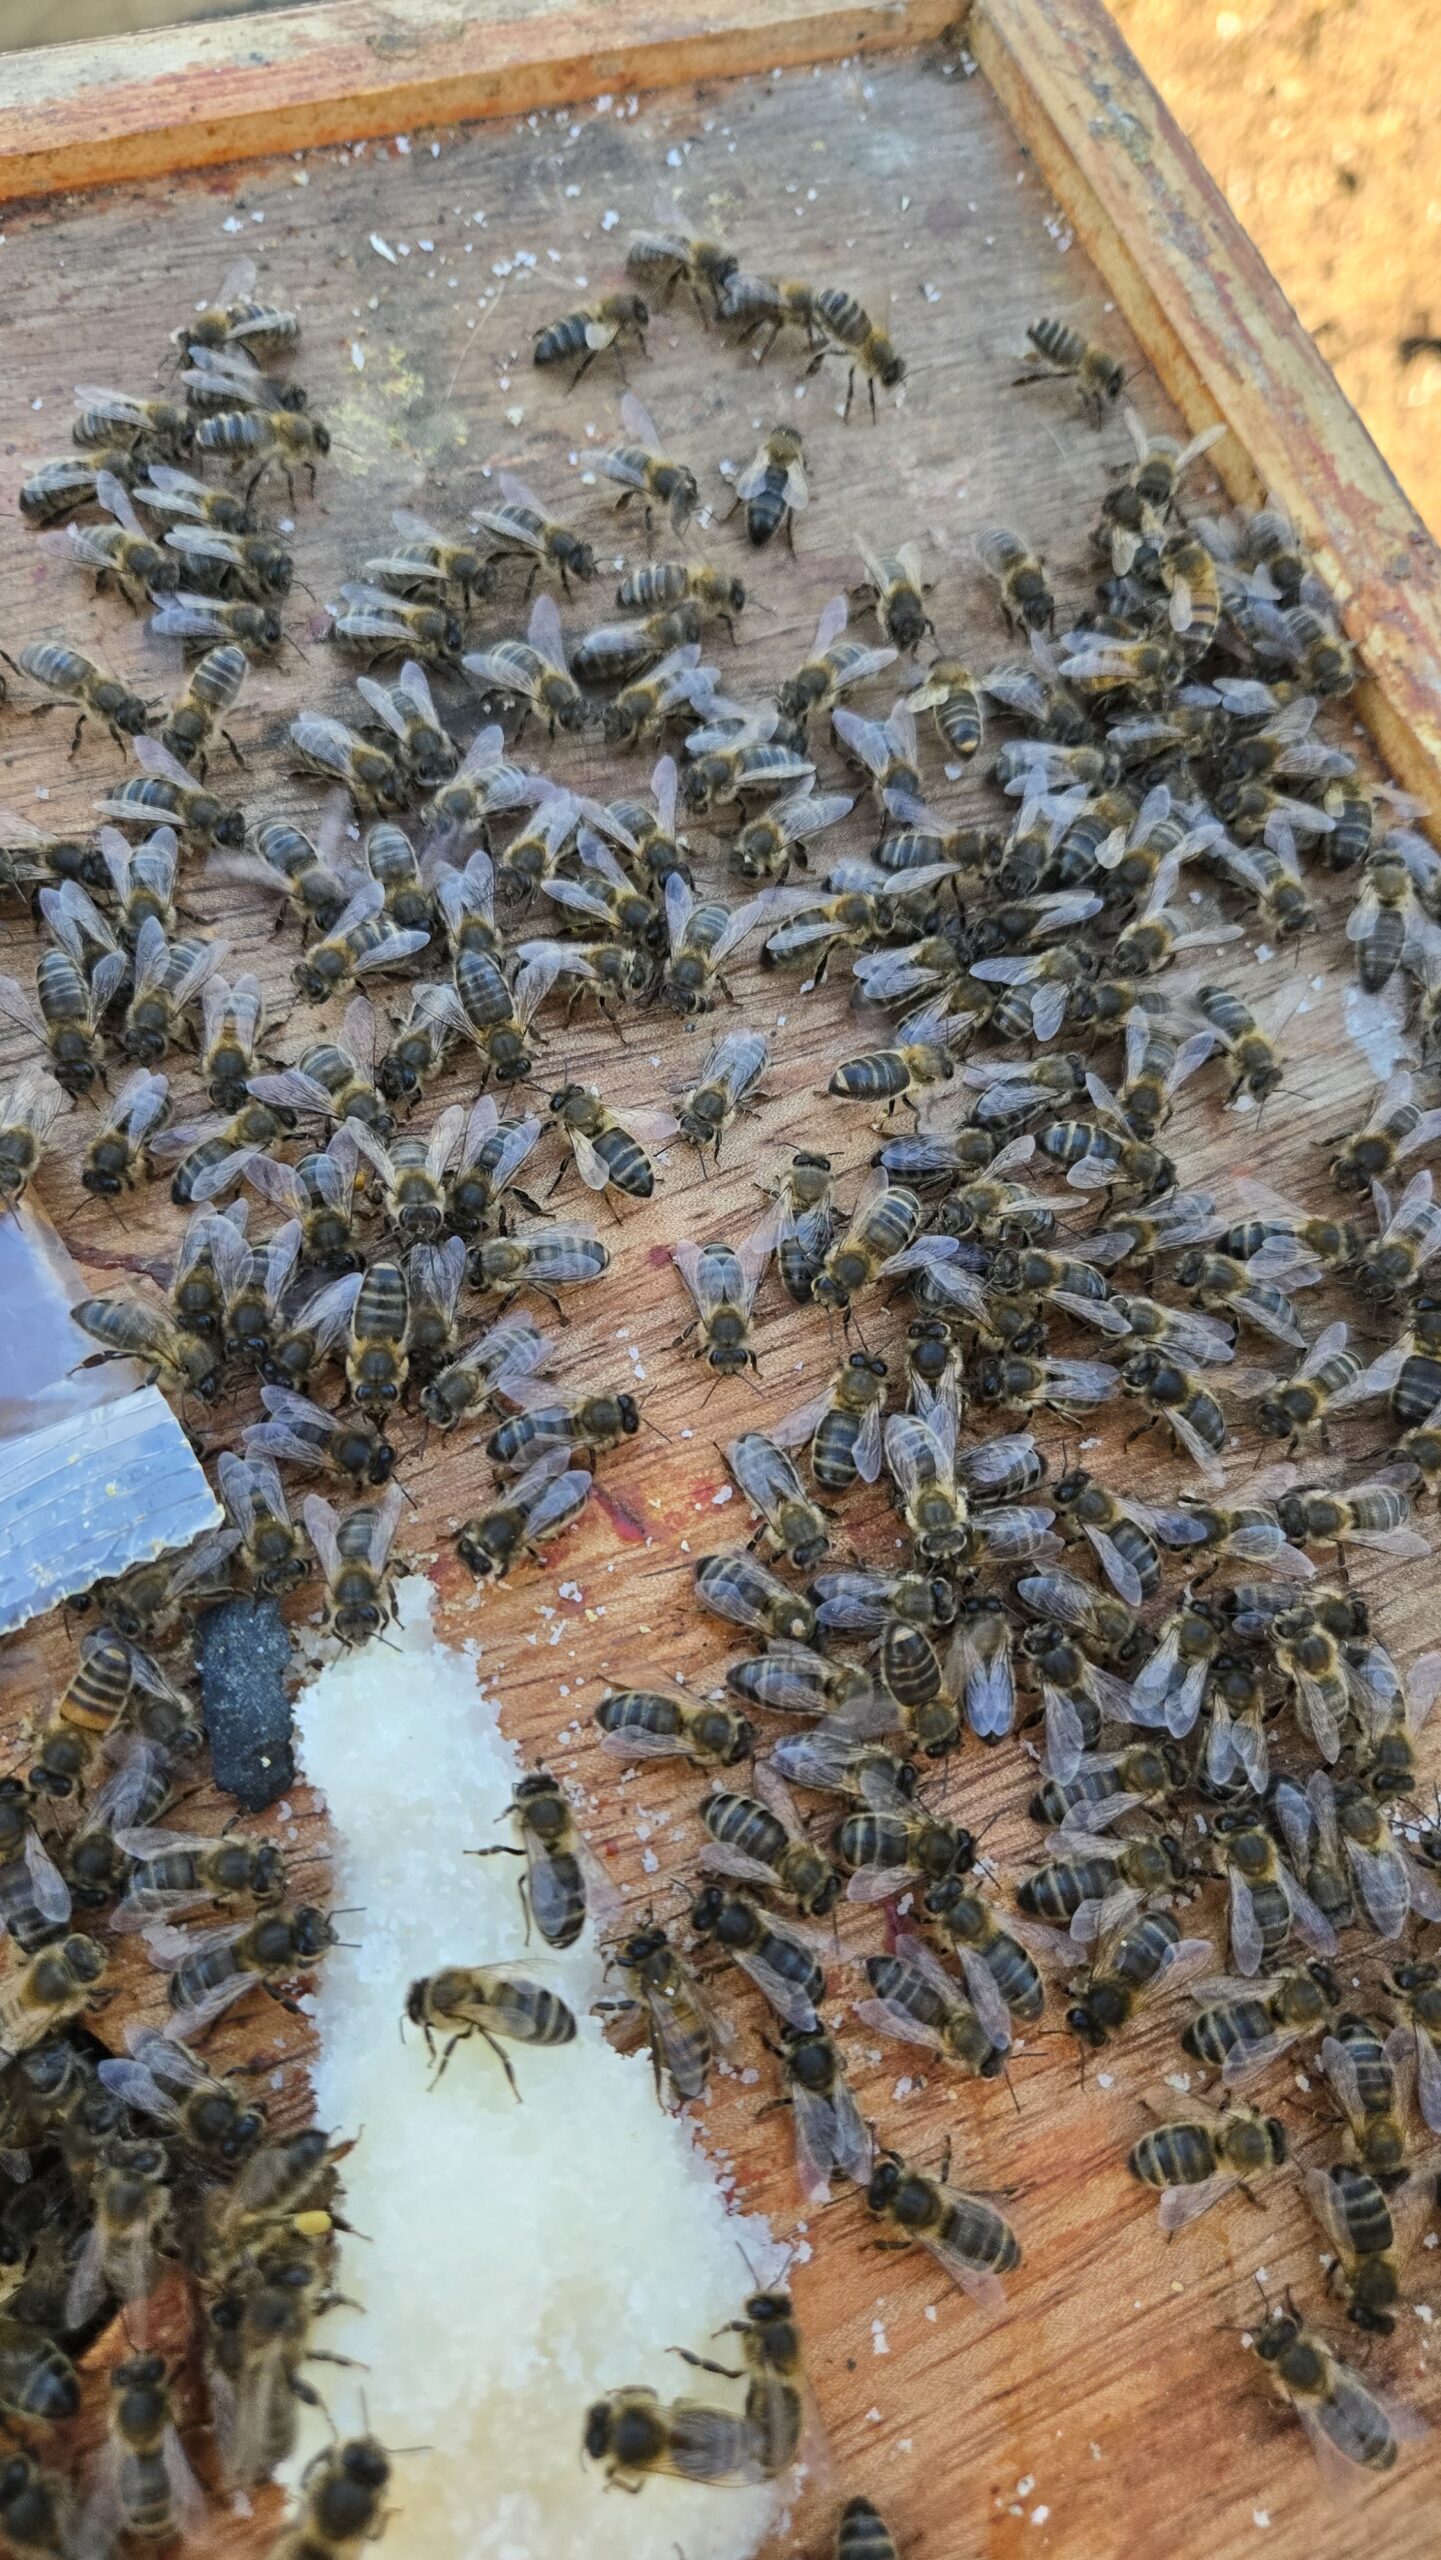
During the inspection I spotted one open cell with a large grub in it that looked different to the others. My brain immediately went to chalk brood, which is a fungal disease that leaves mummified white lumps in cells.
I took a photo and sent it to someone who knows more than we do. The answer came back fairly quickly: almost certainly drone brood. Drones are the male bees, larger than workers, and their larvae are chunkier and sit differently in the cell. We had lots of drones today, which is completely normal for late April. The colony is gearing up for swarming season and investing in reproduction.
Chalk brood looks very different. It is a dried, shrunken, chalky white mummified lump, not a fat healthy grub. If you are not sure what you are looking at, photograph it, note it, and ask someone. That is not a failure, that is good beekeeping.
[IMAGE 13: Two sets of gloved hands on a frame together. Caption: Four eyes are better than two. Especially when one set belongs to someone who is not panicking.]
What Bee Girl Found
[IMAGE: Photo of the completed inspection sheet in Bee Girl’s handwriting. Caption: Bee Girl’s official record. 24th April 2026. Her words, not mine.]
Bee Girl filled in the record sheet. In her own words, under notes: “Lots of brood and honey and we might have lots of honey this year.”
At the bottom, in my handwriting: “Mums: some uncapped brood.”
That is the whole inspection in two lines. Hers is more optimistic. Mine is more anxious. Between the two of us we probably have the full picture.
She also noticed we had a lot of drones. Big, round, loud, slightly clumsy. Very hard to miss once you know what you are looking for. We will write a separate post about what drones are and what they tell you about the season.
Recording What You Find
Every inspection needs notes. Not an essay, just the basics: date, weather, queen seen or eggs seen, brood pattern, stores level, temper, anything unusual, and tasks for next time.
Bee Girl fills in our record sheet when she can, though if we are honest a voice note into the phone is sometimes easier when you are standing in a field in gloves and the bees are lively. We have a printable version of the sheet you can download and use yourself if you want something to take to the hive. You will find it in our resources section. There may also be a rather more exciting solution on the horizon for recording inspections, but that is a story for another day.
Closing Up
You replace the frames in the same order you found them. You replace the crown board. You replace the roof. You give the entrance a last look to make sure nothing is stuck or squashed.
Then you step back, take your gloves off, and write your notes before you forget.
That is it. That is an inspection.
The first few times it feels enormous and slightly terrifying and like you are definitely going to break something. Then it starts to feel routine. Then one day you realise you have done it without once thinking “please do not sting me” and that is when you know you are getting somewhere.
Bee Girl got there faster than I did. She ran the whole inspection, filled in the sheet, spotted the drones, noticed the stores, and wrote down that we might have lots of honey this year. She is probably right.
I was wrong about one frame. She was very gracious.
The Good, The Bad, and The Sticky
The Good: Six frames of solid brood, eggs seen, calm colony, good stores. Bee Girl ran the whole inspection and filled in the sheet without being asked. The bees tolerated us beautifully.
The Bad: I spent ten minutes convinced we had chalk brood. We did not. It was a drone larva. I am documenting this publicly so there is a permanent record of the worry.
The Sticky: Propolis on the hive tool, the gloves, and somehow the camera lens. We have stopped asking how. The bees know what they are doing.
More for beginners: how to light a bee smoker and when it is better to keep the lid on. See also the Bailey comb change explained.
Mum and Bee Girl x